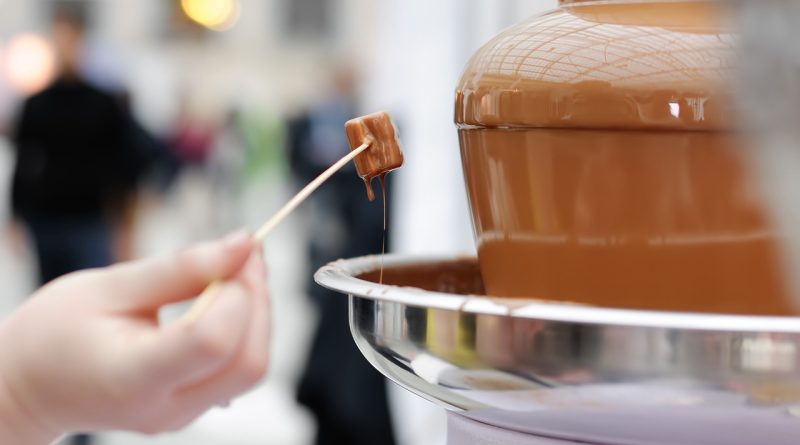
How to Transport a Chocolate Fountain Without Making a Mess
Transporting a chocolate fountain can feel like an adventure, especially if you want to avoid a messy disaster along the way. Whether you’re taking it to a party, wedding, or corporate event, the last thing you want is to arrive with chocolate smeared all over your car. With the right preparations and a few handy tips, you can ensure your sweet treat arrives safely and mess-free. Let’s dive into the essential steps for transporting your chocolate fountain without turning your vehicle into a chocolate slip ‘n slide.
Getting Started: What You Need for a Mess-Free Journey
Before you even touch your beloved chocolate fountain, gather your supplies. You’ll need bubble wrap or foam padding to keep it secure during transport. Additionally, a sturdy box or plastic container that fits your fountain snugly will prevent it from shifting around. Don’t forget some paper towels or wet wipes – they’re lifesavers for any chocolate emergencies that might arise. Lastly, grab some plastic bags to contain any leftover chocolate or drips that could occur during the journey.
Next, consider your vehicle’s interior. If you have the option, opt for a larger vehicle like an SUV or a minivan where you can lay the fountain flat. This position minimizes the risk of any spills that can occur when it’s upright. If you’re using a smaller car, ensure that the fountain is secured in the passenger seat or on the floor behind the front seats, keeping in mind the need for stability while driving.
Lastly, think about the temperature. If you’re transporting chocolate in warm weather, be mindful of the heat potentially melting your delicious cargo. Bring an ice pack or a cooler if you have a longer journey ahead. Chocolate has a melting point, and you definitely don’t want to arrive at your destination with a gooey puddle instead of a fountain.
Packing the Fountain: Tips to Keep It Secure and Clean
Now that you have your supplies ready, it’s time to pack the fountain. Start by disassembling the fountain according to the manufacturer’s instructions. Remove any detachable parts, like the basin or tiers, to minimize the risk of breakage. Wrap each piece separately in bubble wrap or soft cloth to provide cushioning. Secure each wrapped component with tape to ensure nothing shifts during transport.
After securing the individual pieces, place the fountain base, along with its motor, in the center of your packing box. Surround it with more bubble wrap or padding to keep it snug. If you have leftover chocolate in the basin, consider pouring it into a plastic bag and sealing it tight before placing it in the box. This will help contain any chocolate from leaking out, but make sure to clean any excess chocolate residue from the fountain beforehand to avoid messes.
Finally, double-check that everything is packed tightly. You want to avoid any unnecessary movement while driving. If there are any gaps in the box, fill them with crumpled paper or additional padding to stabilize the fountain. With everything packed securely, close the box and label it as "Fragile" for anyone else who might need to handle it.
Transport Techniques: Best Practices for Smooth Travel
When it comes to transportation, driving carefully is your best friend. Avoid sharp turns, sudden stops, and excessive bumps whenever possible. If you’re on a busy road, be mindful of the speed limit and try to maintain a steady pace. It might feel like you’re driving a loaded truck, but keeping your speed consistent will help ensure a smooth ride for your delicate cargo.
Consider using a seatbelt to secure the fountain box if it fits snugly in the seat. This extra layer of security can prevent the box from sliding or tipping during the journey. If you’re traveling with someone else, have them keep an eye on the fountain during the trip, which adds a bit of extra peace of mind and allows you to focus on the road.
Lastly, if you’re going to be on the road for an extended period, plan for breaks. Take a moment to check on your fountain and make sure everything is still tightly secured. A quick pit stop will help you gauge your progress and ensure that your chocolate fountain is still in one piece and ready to shine when you arrive at your destination.
Setting Up: How to Avoid Spills Once You Arrive
Once you’ve arrived at your event, it’s time to set up your chocolate fountain. Start by choosing a stable surface to place it on, away from high traffic areas where bumps and spills are more likely. A table with a tablecloth can add some elegance, but make sure it’s sturdy enough to support the fountain’s weight. This will not only enhance the aesthetic but also provide a bit of protection against any drips.
Before plugging it in, do a quick inspection of all parts to ensure they’re clean and free of any residue from the journey. Setting up the fountain while it’s clean will prevent any mess from becoming more significant. Once you’re ready, carefully assemble the fountain in the order specified by the manufacturer, being gentle with the components to avoid any accidental breakage.
Before pouring in your chocolate, lay down some paper towels or a plastic sheet around the base of the fountain. This precaution will help catch any drips or spills during the initial melting process. Once the chocolate is flowing, keep a close eye on it, and be ready to wipe up any spills that might occur. That way, you can enjoy the delicious show without worrying about cleaning up a chocolate disaster later!
Transporting a chocolate fountain doesn’t have to be a chaotic, messy experience. By following these simple tips for packing, securing, and setting up your fountain, you’ll be well-equipped for a smooth journey. With a little forethought, you can focus on the fun of your event while ensuring your chocolate fountain is the star of the show – free from spills and all things messy. So gear up, and may your chocolate fountain flow as smoothly as your travel plans!